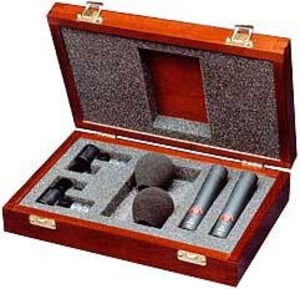
4. Microphones in Detail
Kick Drum
Kick drums produce very high sound pressure levels (SPLs) at low frequencies, and so require microphones that can cope with both these issues. Most well-known manufacturers produce large diaphragm dynamic microphones specifically for the purpose, which are capable of handling the high transients, and have frequency responses contoured to capture the deep lows. One of the most popular is the AKG D112 (the successor to the D12 for those old enough to remember!). Others include the Sennheiser e602 and e902, Beyerdynamics M99 and Opus 99, the Electrovoice ND868, and the Shure Beta 52. There are also mics which were not specifically designed for the kick drum, but which over the years have become the first choice of many engineers popular examples include the EV RE20 and RH27, and the Sennheiser MD441 and MD421.
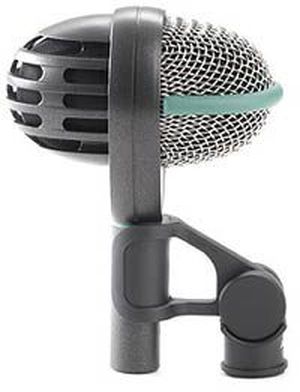
The standard position for kick drum mics is inside the shell, pointing towards the reverse side of the batter head (the one that the beater is hitting) - use either a low-level or gooseneck stand. Even inside the shell the sound can vary greatly - if the mic is too close to the beater, then more click will be captured and less of the drum itself, but go too far to the rear and youll lose the attack of the drum which is crucial to most types of music. To achieve a good balance of these two elements, place the mic at an interim distance, and adjust it a few centimetres at a time whilst checking the change in sound. A great way of positioning mics in general is to monitor on good closed back headphones while you move the mic, allowing you to hear the sound changing in real time. Try closing your eyes while you do this positions that look wrong can often sound great!
You can also place the mic outside the shell - this will give a fuller kick drum sound with less impact from the beater, and more of the sound of the resonant skin plus room ambience and spill, a common approach in jazz recordings. Large diaphragm condenser mics with cardioid or super-cardioid polar patterns are popular choices for this application. If your budget can run to it, try combining both approaches for the ultimate in flexibility, not forgetting to experiment with the phase of the mics in order to achieve the best sound.
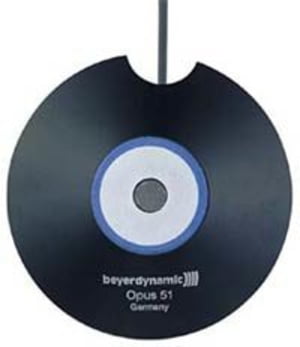
Another popular type of kick drum mic is the boundary or PZM mic, which is usually placed on the floor of the shell. The nature of the design lends itself to excellent low frequency reproduction, and they are especially good in live situations, where good separation and feedback rejection are essential. Examples of this are the Shure Beta 91, Beyer Dynamic Opus 51 and Audio Technica ATM87R.
Overheads
For overheads, either a single mic is placed over the centre of the kit, or more usually two spaced microphones are used for recording in stereo. Its important to be able to capture the full frequency range here, so condenser mics are generally used, often small diaphragm types as these are usually the most accurate. The mics should be placed approximately 1.5m to 2m above the kit so as to capture a good balance of the overall drum sound, without too much bias towards the cymbals.
With stereo recording, the mics should be identical (e.g. 2x AKG C451 or Rode NT5), and should be placed in one of two standard stereo configurations - XY, where the proximity of the 90 degree angled capsules placed above the snare gives a tighter sound and helps to counter phase issues, or AB/3:1 placement, with a mic above each cymbal to capture more of the room sound along with the drums, giving more perspective and breadth. With AB/3.1 placement, its always sensible to check the sound in mono for phase cancellation, and re-adjust the positioning if theres a noticeable loss of bass frequencies fairly small movements can make a big difference.
If youre using individual microphones on all the drums and so dont need much bass from the overheads, choosing a microphone that has a high pass filter will allow you to reduce the level of the drums, and concentrate on the cymbals and high frequency transients.
Snare
The snare drum has two components to its sound - the batter drumhead that the player hits with the sticks, and the snare itself, which is stretched across the resonant head on the bottom of the drum. The snares give the drum its characteristic sound, and are also responsible for the wide variation in tones that can are achieved, depending on exactly where the player strikes the drum. Snare drum mics are usually placed underneath the hi-hat, pointed down at an angle to 3 or 4cm above the rim of the drum. The proximity of the hi-hat means a directional microphone is essential to reject as much spill as possible, as is the case with any other close miked drums. Some engineers will also place a mic underneath the drum to capture more of the snare and resonant head, which additionally allows high frequencies to be boosted that would otherwise increase hi-hat spill. As both microphones are facing in opposite directions they will be out of phase, so remember to reverse the phase of the bottom mic.
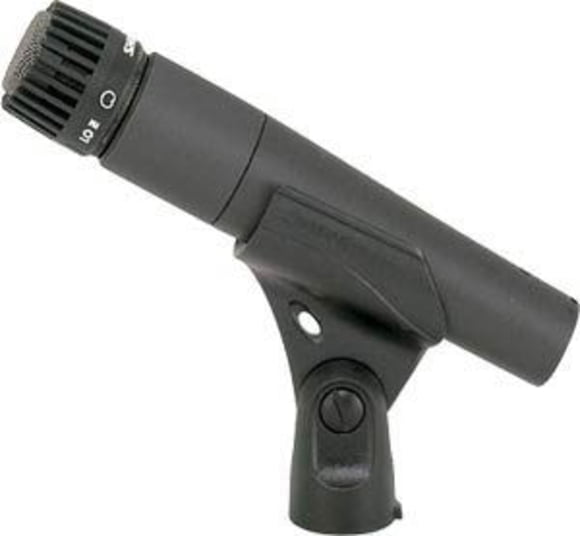
Models of choice for snare drum are the Shure SM57, which has excellent rejection of ambient sound to suit this application, or the Beta 57, which has a slightly brighter sound than its older relation. The Beyer M201 and the Sennheiser MD421 are also commonly used, although for a crisper sound, some engineers prefer to go for a condenser model, particularly for the resonant head.
Hi-Hat
The hi-hat doesnt necessarily need its own microphone, as its sound can be picked up by either the overheads, or a judiciously adjusted snare mic. If miked separately, its normally done around halfway between the centre and the edge, and 10 to 15cm above the top cymbal - high enough to allow for the hat to open, and also to avoid blasts of air when it closes. Face the mic away from the snare, and towards the centre of the hi-hat, using a 45 degree angle so as to avoid any spill. When listening to the hi-hat microphone, its a good idea to check it in conjunction with the overheads as these usually strongly influence the sound. Small diaphragm condenser mics are most commonly used, including the AKG C451 and C391B, the Neumann KM184 and 185, and the Beyer Opus 83.
Toms
If youre on a tight budget, you can quite easily get away with sharing one mic between two toms as the overheads will also pick them up, and these drums are usually much less important to the music than the kick, snare and cymbals. Place the microphone between the two toms at approximately a 45 degree angle, preferably using a mic that has an omni polar pattern, but certainly at least cardioid rather than hyper-cardioid (position your mic a bit higher than normal if using a cardioid). If you can stretch to one mic per tom though, this will allow you to pan them more realistically at the mixing stage, and also to get a more defined sound. As before, tilt the mic at 45 degrees towards the centre of the skin, and place it close in, but not so close so that the drummer knocks the capsule to kingdom come!
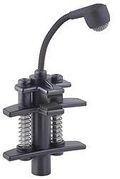
One of the most popular mics for toms is the Sennheiser MD421 dynamic - this has a 5 position bass roll-off switch which compensates for the increase in bass which is common to all cardioid mics as they get closer to the source, although of course the proximity effect can work for you in cases where you particularly want a deeper, fuller sound. Bass roll-off can also help to eliminate impact noise. The Shure SM57 is again a popular choice, as is the Beta 56A. If you want to cut a few corners with your budget, tom mics are the place to do it - by comparison with other parts of the kit, the sound is not as complex and as mentioned above, the toms are usually less important to the music.


